Steps to Configure Zoho Mail in Apple Mail Client as POP
- Make sure that POP Access is enabled in the Zoho Mail interface. (Login to www.zoho.com/mail >> Settings >> Mail Accounts >> POP Access >> Enable POP Access by clicking the checkbox)
- Open your Mac Mail application.
- Select Mail >> Accounts >> Click the + icon in the bottom right, to add a new account.
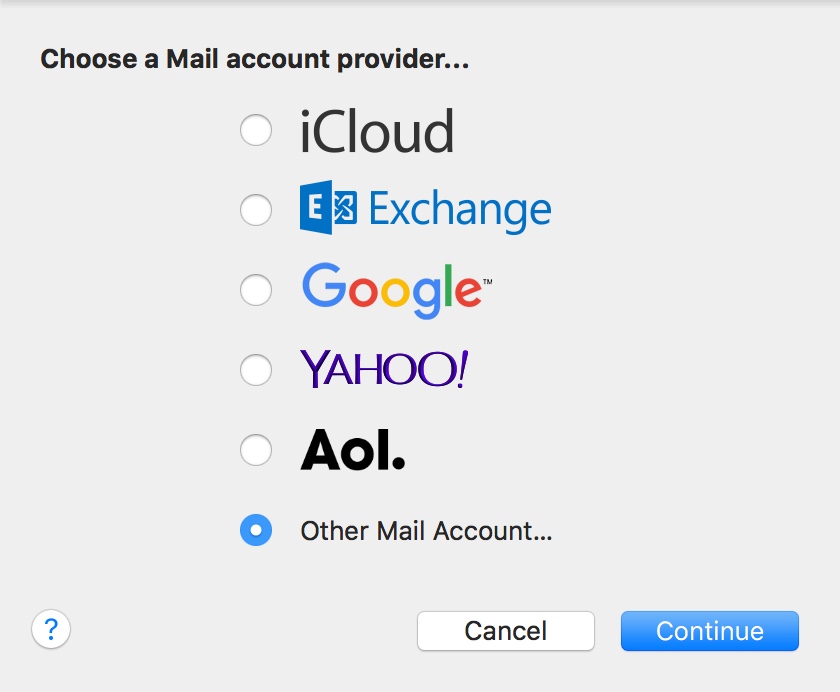
- Choose Other Mail Account, skipping the default options provided.
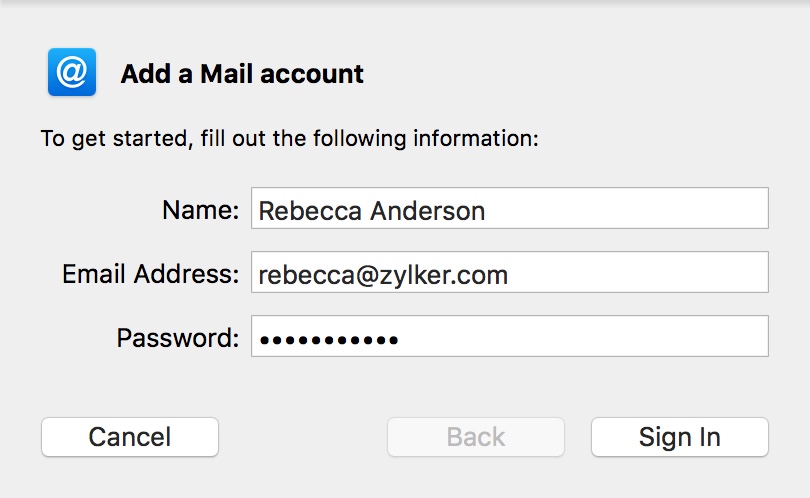
- Specify your preferred Display Name, Email Address of your account in Zoho and your password.
- Click Sign In, and provide the configurations details manually.
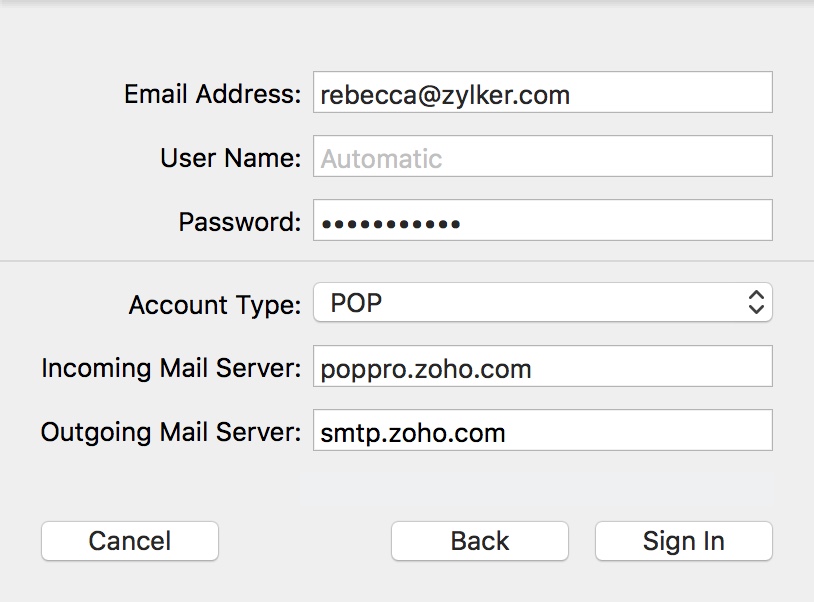
- In the next screen, select the Account Type, and the Incoming and Outgoing server details as given below:
- User Name: Your complete email address (user@yourdomain.com for domains hosted with Zoho and user@zoho.com for personal users)
- Password: Zoho account password (You may require Application Specific password if Two Factor Authentication is enabled for your account.)
- Account Type: POP
- Incoming Mail Server: pop.zoho.com.au for personal users, pop.zoho.com.au for organization users who have their domains hosted with Zoho Mail.
- Outgoing Mail Server: smtp.zoho.com.au
- Click Sign In.
- Apple Mail verifies the account details and maps the Incoming server details for the account.
- The account will get created based on the server details provided.
Troubleshooting Mac Mail Configuration:
Authentication Errors:
- In case you get authentication errors, check your POP Status. If POP Status is disabled, Enable POP and try again.
- Check if you have Two Factor Authentication turned on. (accounts.zoho.com >> Two Factor Authentication) . Generate and use Application Specific Password, for TFA enabled accounts
- In case you are a part of an organization, the administrator may have restricted access via POP to your account. Contact your email administrator for details.
Connection Errors:
- Often connection errors happen, when the server details are incorrect.
- Check if the Incoming and SMTP Server names are correct.
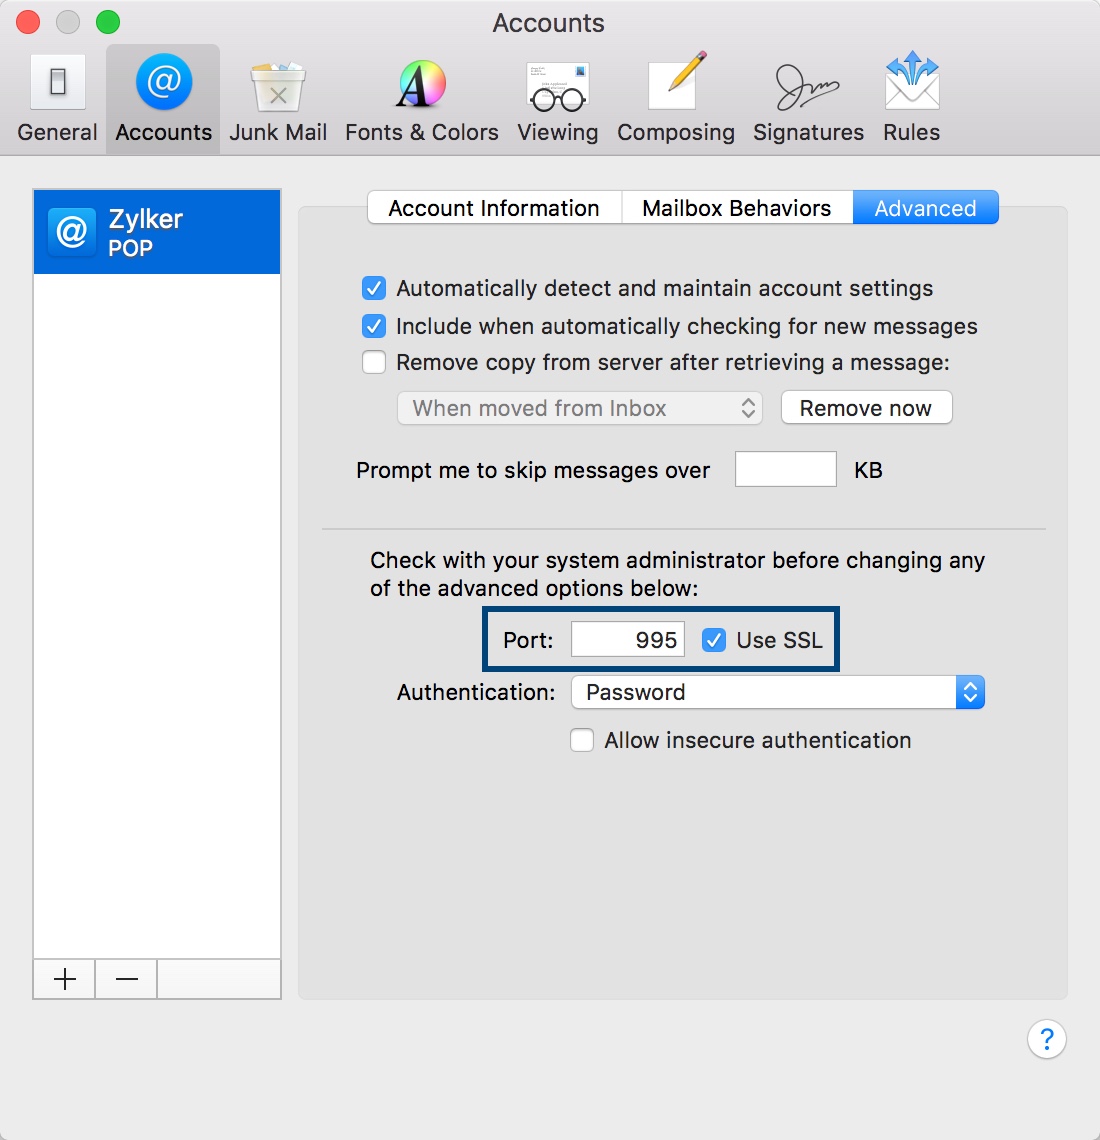
- Check if SSL is turned on for Incoming Server and the port number is 995.
- To check if the port number is correct, go to Mail >> Preferences >> Accounts >> Advanced
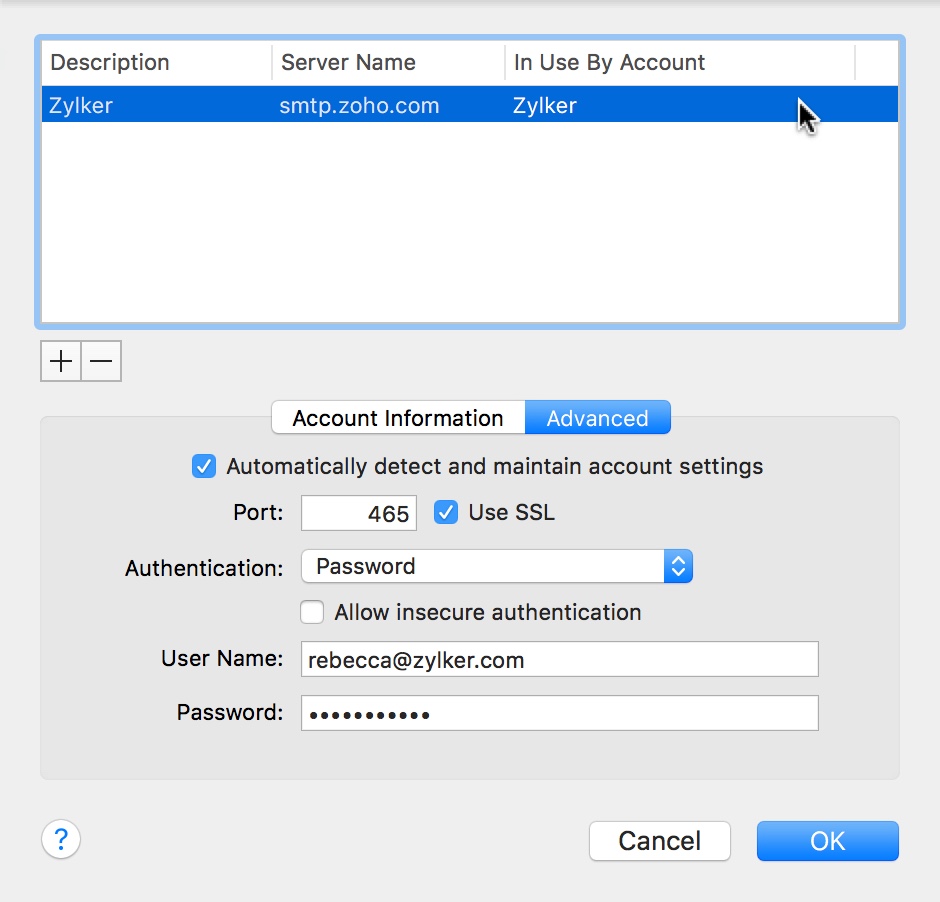
- Check if the SSL is turned on for the SMTP server, and that the Outgoing Port Number is right.
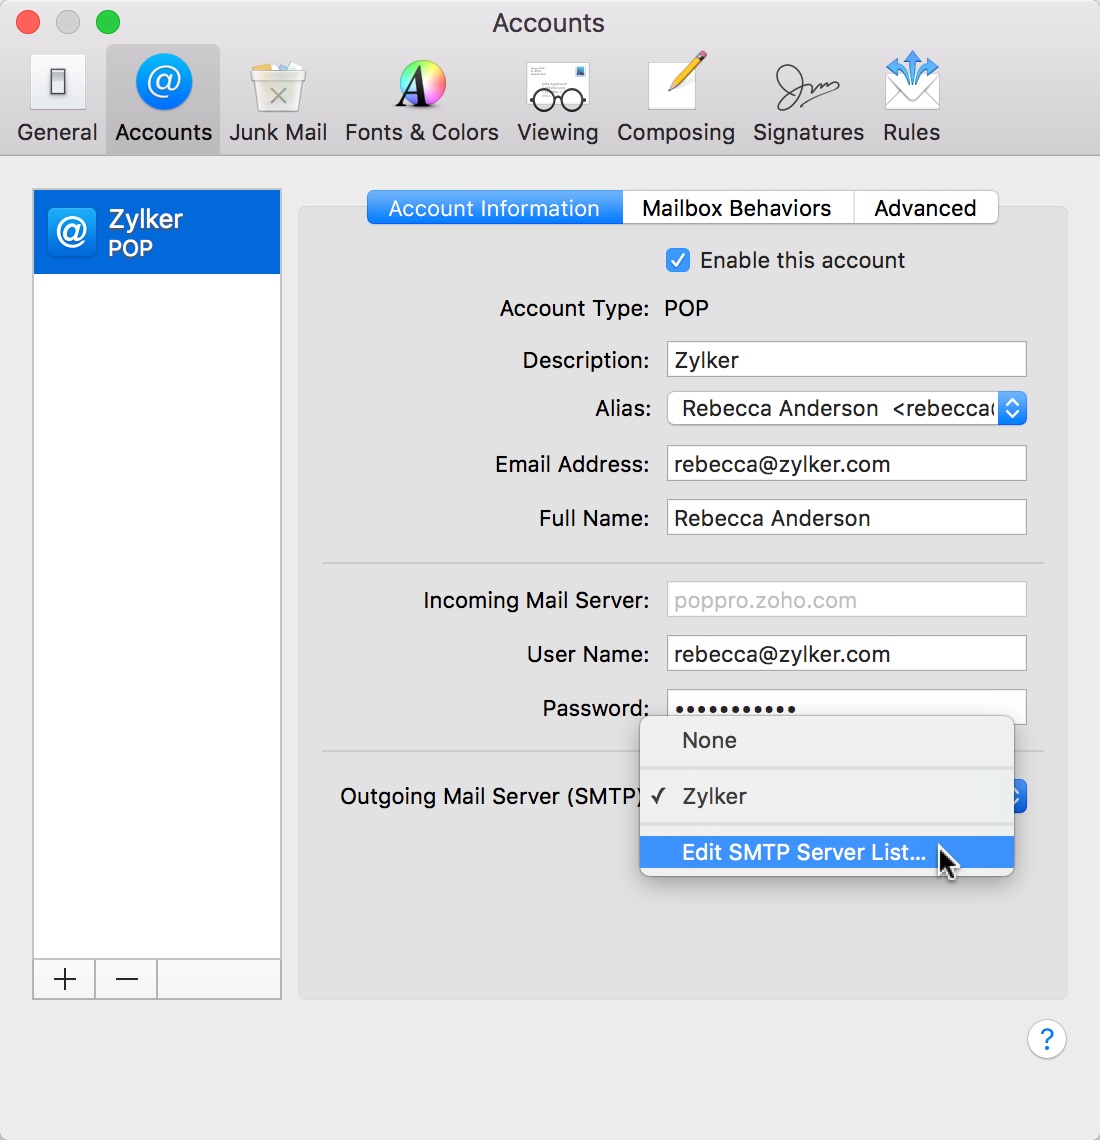
- To check the Outgoing Port Number and SSL, go to Mail >> Preferences >> Accounts >> Outgoing Mail Server (SMTP) >> Edit SMTP Server list.
- Ensure that the Port Number is 465, SSL is checked, and click Ok.
For more information please visit : https://www.zoho.com/mail/help/mac-pop-access.html